Connecting to Acumatica with Velixo NX
Applies to:
- Velixo NX
- Acumatica, MYOB Acumatica, Cegid XRP Flex, Haufe x360, Jamis Prime
Installation steps
If you haven't installed Velixo NX yet, please follow these steps: Installing Velixo NX
Alternatively, you can view the Click-by-Click demo:
Benötigen Sie eine Anleitung auf Deutsch?
Configuration steps
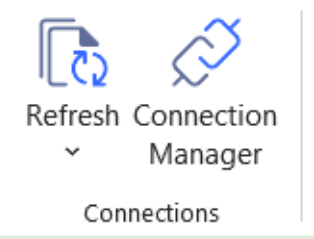
From the Velixo NX ribbon, click Connection Manager:
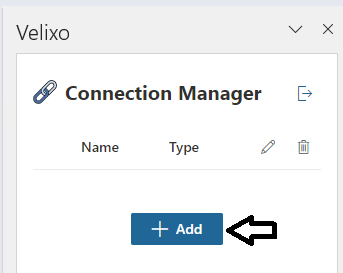
In the Connection Manager side panel, click the + Add button:
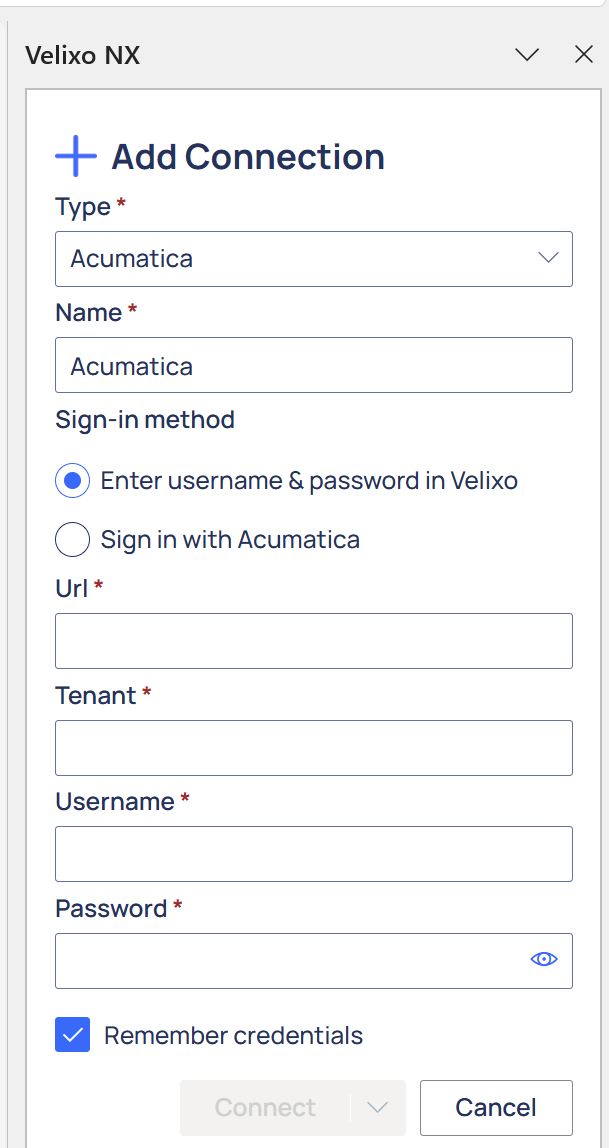
When adding a connection for an Acumatica-style ERP, the side panel includes the following:
Type: This is ERP to which we want to connect. The valid options for Acumatica-style ERPs are: Acumatica, Cegid XRP Flex, MYOB Acumatica, JAMIS Prime, Haufe x360
Name: This is the user-friendly name for the connection, which must be unique (case does not matter). This name will be used later when building formulas that refer to this connection.
Sign-in method: here you indicate whether you want to use username & password to connect or use a single-sign-on method.
URI: The ERP website URL. This needs to be the full root URL - including the HTTPS (Velixo NX does not support non-secure HTTP connections) and subfolder (if applicable).
Tenant: The tenant to which you want to connect. If the ERP is configured with only a single tenant, the name is typically Company.
Username/Password: The username and password that are used to connect to your ERP
Once Velixo NX has been added to your Excel 365 and you have established a connection to your ERP instance, you are ready to create your first reports.
Next
Please go through this step-by-step guide that will walk you through creating your very first Velixo report.
Create your first Velixo report
and see our other Velixo NX articles